Nail Art.
I've always been keen on a spot of nail art, but I felt like I'd been neglecting the talons for the first half of the year. Working in a high-pressure environment and having a lot of responsibility during the week, I found myself having much less time on my hands. That was all a far cry from two or three years ago, where I was literally painting my nails every other day.
This year, it's almost been like torture for my beloved nails, finding themselves being painted just once a week at times and any polish addict worth their weight in salt knows exactly how difficult it is to maintain the nails for days on end without chips. And I'm certainly not one to tolerate chipped nail polish. Not a chance.
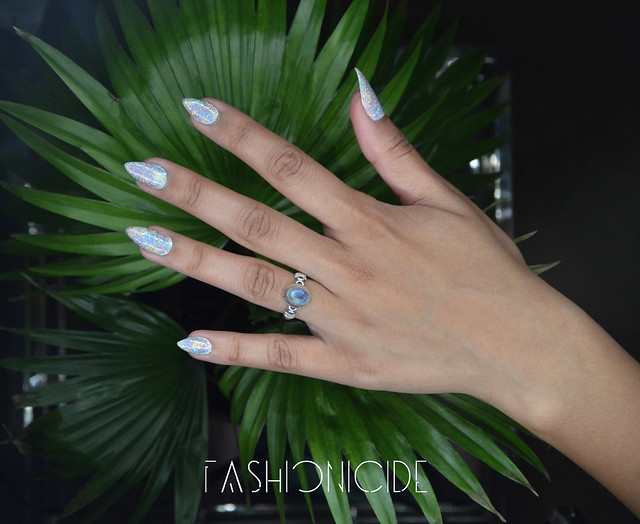
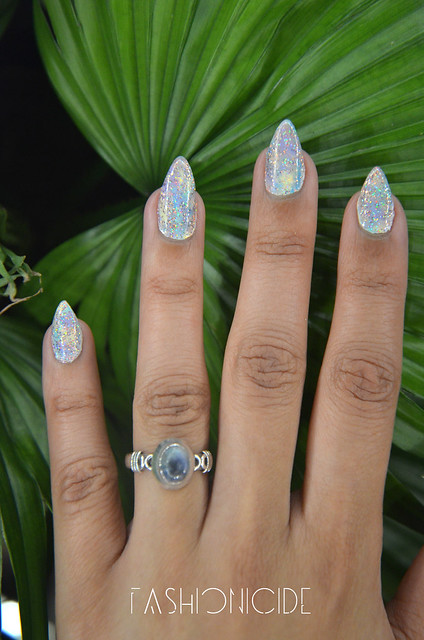
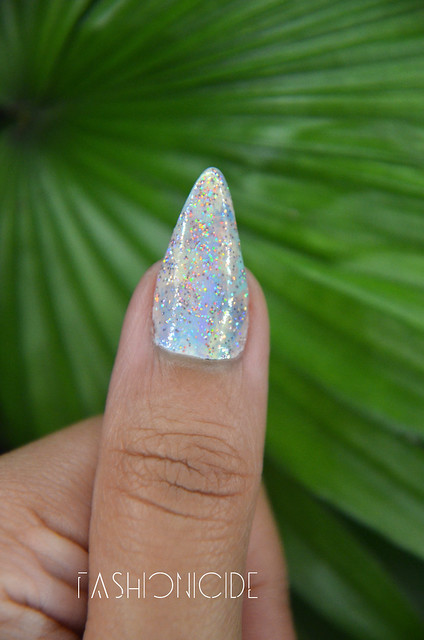
So, with time of the essence and my nails chipping away like crazy during the week, what's a girl to do? Nail art, of course, is the only answer, and this Pastel Universe look is about as stunning as they come with such minimal effort.
POLISHES USED
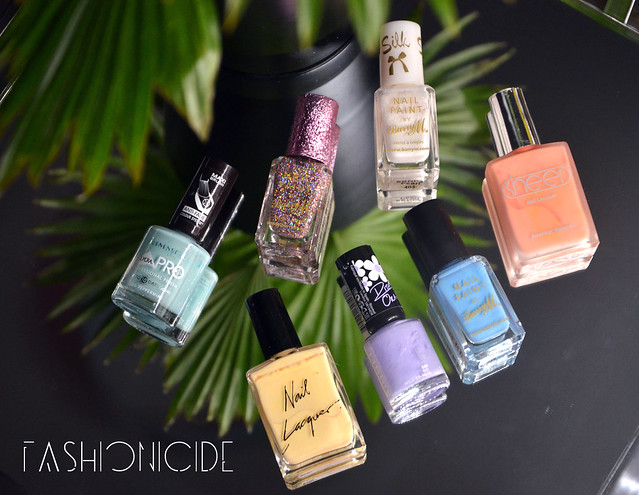
Rimmel London Lycra Pro in Peppermint, Barry M Glitter polish in 348, Barry M Silk in Pearl, American Apparel Nail Lacquer in Butter, Rimmel London Rita Ora in GO WILD-ER-NESS, Barry M Nail Paint in Turquoise & American Apparel Sheer Nail Lacquer in Summerland Beach
As you can see with the colours I've used, this is quite a light, airy universe, but it doesn't have to be this way. You can use pretty much any colours you want no matter how light or dark they may be. The technique to achieve these nails is surprisingly straightforward.
I use a small make-up sponge, the kind you can buy from poundshops in large bags, and create a little patch of each colour to be used in the design on the sponge. The trick is to apply a base colour (white in this case) and then dab on the colours bit-by-bit to build up your universe, starting with the darkest colour first. If you try to apply darker colours later, the lighter colours beneath will simply get swamped.
The white base is there to make the lighter colours pop and to make sure that any gaps left behind after the dabbing don't allow naked nail to shine through!
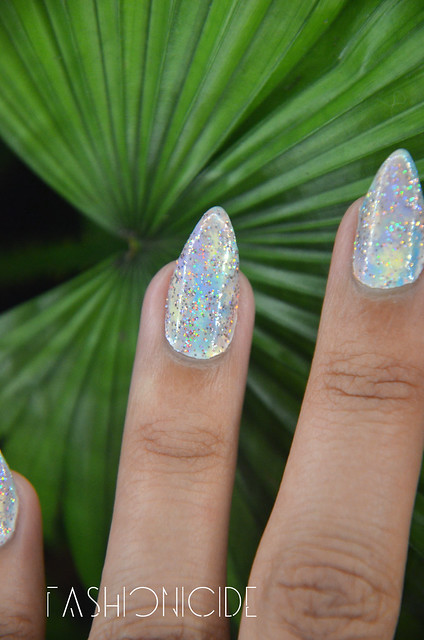
Once you're happy with the little universe you've created upon your mighty talon, simply apply a layer of sparkling stars, or glitter if you don't have any stars lying around! The great thing about this look, is each and every nail will look slightly different no matter how hard you try!
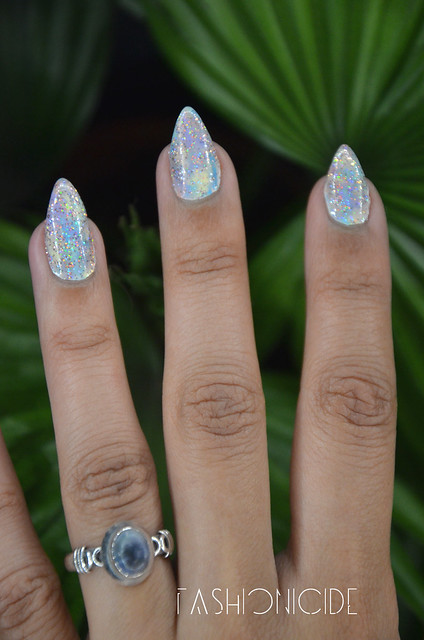
So by now you're probably thinking, how does this solve the lack of time issue? Well, it probably takes an extra 10 minutes to create this look than it would to paint my nails all in one colour. And of course, as I'm layering various colours upon my nails, not only am I creating something that looks great, it's also creating a thick layer of armour, much more difficult to chip!
I think they call that a 'Win-win'!
0 comments