FRAGRANCE REVIEW // Anfasic Dokhoon - Shay Oud
Saturday, December 30, 2023Well guys, it's been a while. For the past couple of years, I've become a complete and utter fanatic for fragrances, mainly Middle E...

The Scent
Makeup
Projection and sillage

Uniqueness
Cost and where to buy
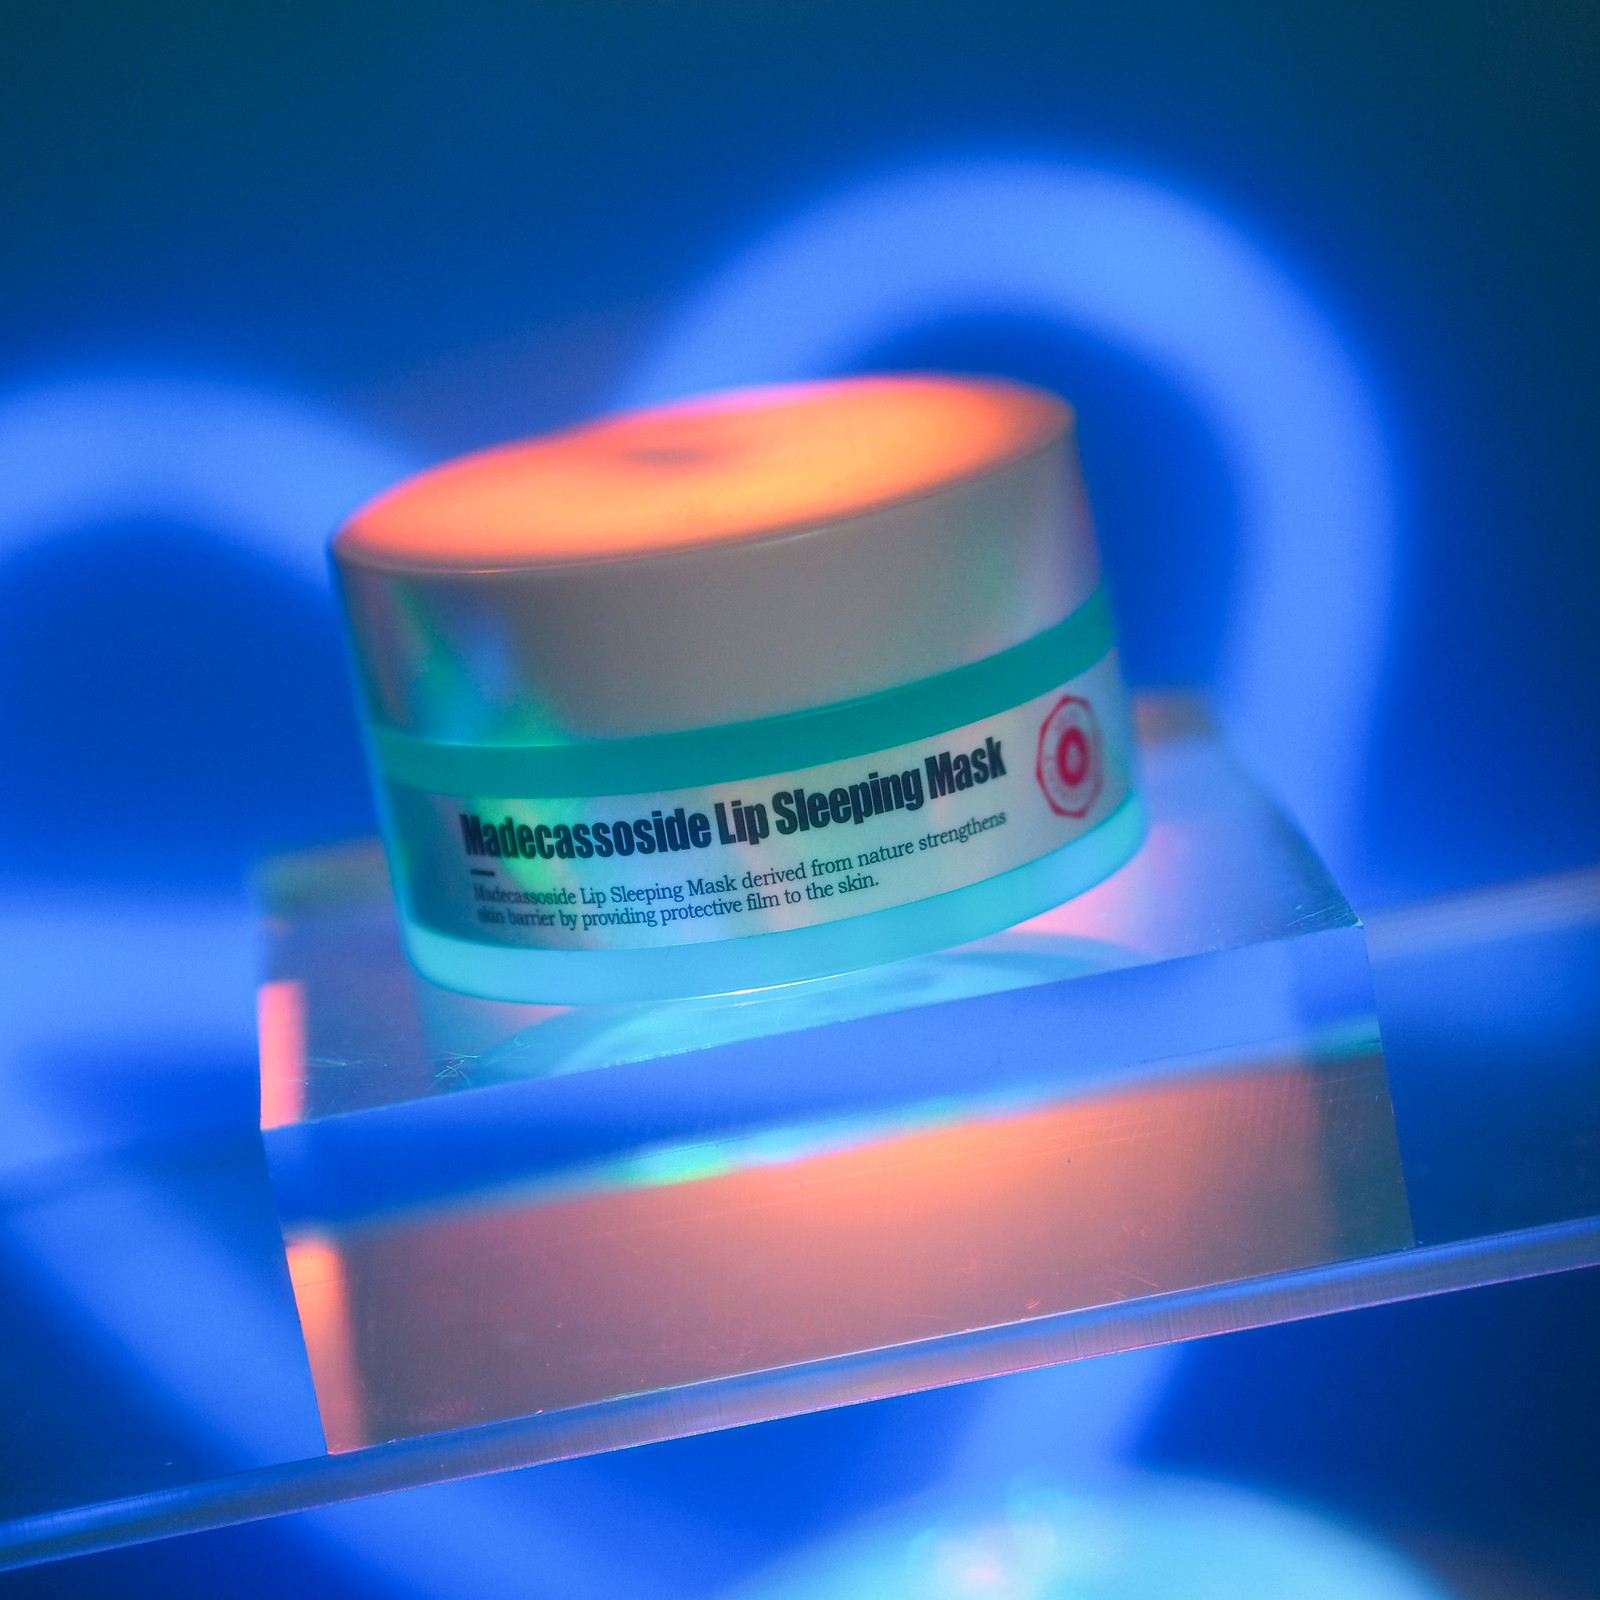
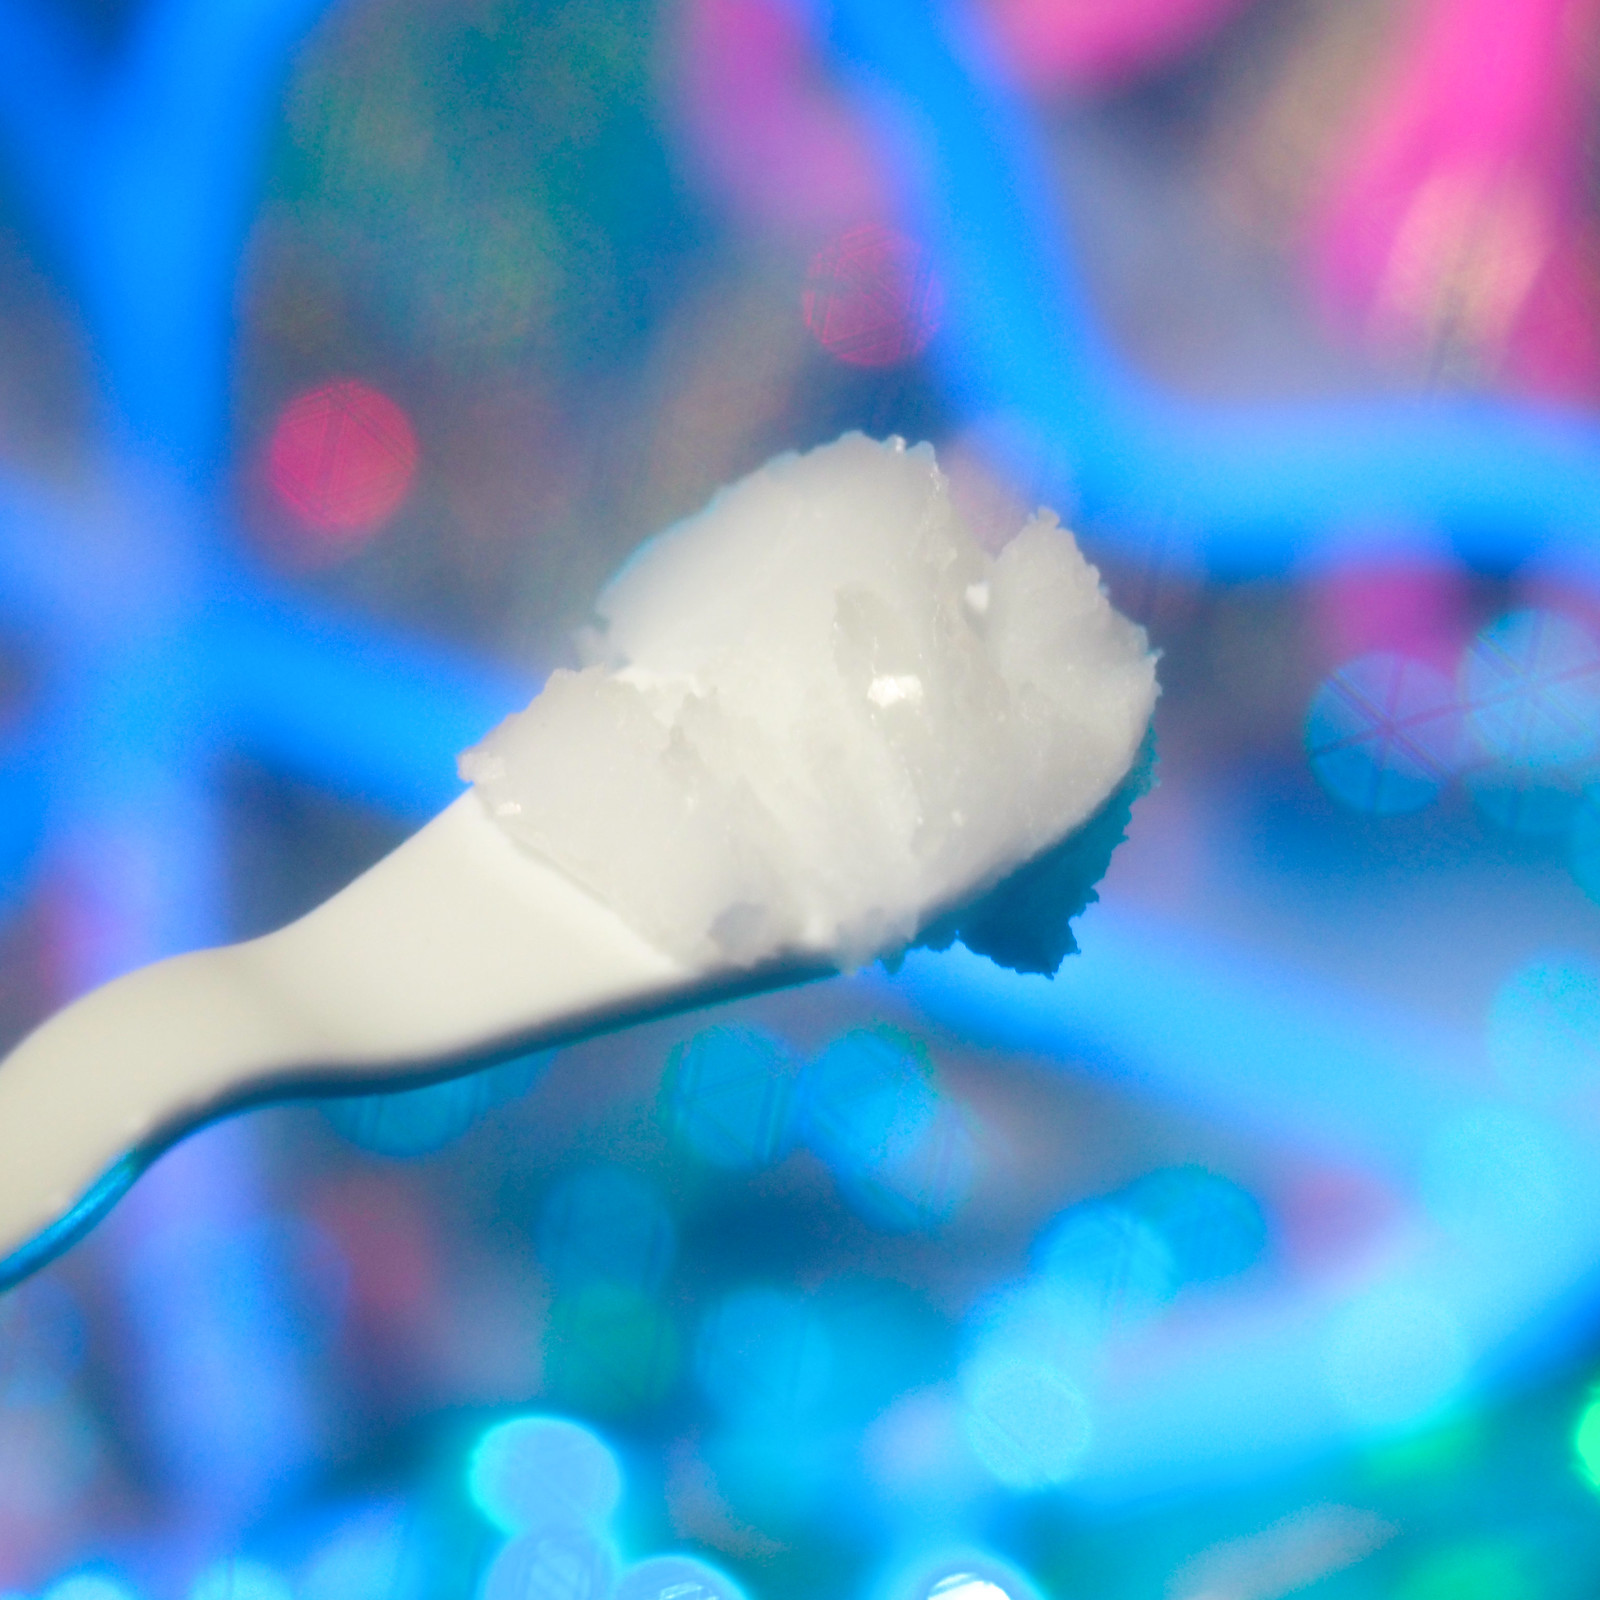
Skincare Reviews: A'pieu Madecassoside Lip Sleeping Mask
Friday, November 06, 2020So there’s a bit of a story behind this product review. I visited Seoul last year, back in the days when we could travel fre...


What is a Korean Italy Towel and Why Do You Need It In Your Life?
Monday, October 26, 2020Not to be too hyperbolic here, but honestly, just round up all your coffee scrubs and all your salt scrubs and pretty much every other...

Not to be too hyperbolic here, but honestly, just round up all your coffee scrubs and all your salt scrubs and pretty much every other type of scrub you might have, before we get started here, and just bin them (ok please don't do that!). I have seen the light, and that light is... green and... fabricy.
Yes, the light I've seen is the Korean Italy Towel, and I implore you to read on and find out why you simply must have one.
What on earth is an Italy Towel?
Well, it's an exfoliating mitt, used in Korean spas and found in many households all across Korea. The name Italy Towel came about as the original mitts were created from a form of viscose imported from... Italy.
The mitt itself is an abrasive, exfoliating towel, which basically scrubs off the dead skin from your body. They remind me a little bit of the mitts you might find in a hammam, like the Rituals Kessa glove, but the fabric is a bit thinner, a bit lighter and isn't half as painful.
They come in a variety of colours, which denote a different level of abrasiveness. The green one I purchased is the most common, and can be used on most areas of the body. There's a yellow one, which is the most abrasive. The pink one is the least abrasive, and usually saved for the face.
So why do I need one?
Because they're really, really good! Ever since I've started using the towels, the skin on my body is almost unrecognisable in places. One area in particular, where the mitts have made a huge difference is my back. It's been a problem area for me since I was a teenager, constantly bumpy and seemingly nothing I could do to resolve it. Weekly scrubs would never make a long-term impact, I was continually chasing smooth skin, and it was always just beyond reach.
But after using the Italy Towel once, and I really do mean once, my back felt different. The bumps had gone, just like that, never to return (ok hyperbole again). In all seriousness though, my back has been completely transformed, to the point where it feels like it's someone else's back, so smooth, and when moisturised, my skin glistens!
And how do I use it?

For best results, soak your skin for at least 15 minutes in the bath or shower. Then you put on the mitt, and start scrubbing to your heart's content, either in circular or up-and-down motions. Just remember, it is abrasive, and if you start to feel any pain or discomfort, go a little easier on yourself or stop altogether.
The first time I used it, I felt that abrasive sensation, and debris started rolling off my skin - dead skin! So I continued, scrubbing all over my body, including my feet and hands. After scrubbing, just rinse yourself off. You can then apply toner, moisturiser or whatever your usual routine is.
Afterwards, I expected that my skin might feel dehydrated or taut, but it didn't - it felt silky and smooth, almost as glassy as the skin on my face! Also note, that the mitt starts to shrink as you use it for the first time, supposedly to fit nicely on your hand. It feels like mine may have shrunk a little too much, but you can stretch it out when wet.
Guidance I've found online varies as to how often you should use it, anywhere from weekly to monthly, but I've found the best approach is to listen to my skin, see how it's feeling and use when necessary. As I type this, I last used the towel two weeks ago and my skin feels in need of a bit of a scrub.
Where can I buy one?
The great thing about this is, it's so easy to get hold of. You can pick up a pack of 5 on Amazon* for £5.93. Yes, that's five pounds and ninety three pence for five!
*Note that this is an affiliate link, and I may receive commission on any purchases made. There are plenty of other places to buy online though, so always do your research :)
SKINCARE REVIEWS: Heimish All Clean Cleansing Balm
Monday, October 19, 2020Recently I reviewed the K-beauty cult classic Banila Co Clean It Zero Cleansing Balm Original , which is usually the go-to cleansing ...

Recently I reviewed the K-beauty cult classic Banila Co Clean It Zero Cleansing Balm Original, which is usually the go-to cleansing balm for those at the beginning of their Asian Beauty journey. It really is a great product, and I can easily understand its popularity, but there is a little bit of doubt on it's cruelty free status. All is not lost though, as there are many K-beauty cruelty free options - one being the All Clean Cleansing Balm from Heimish.
The product was originally referred to me by a lovely follower of mine on Instagram called Shabana - she said that she preferred Heimish's All Clean Cleansing Balm to Banila Co's, so after picking myself back up off the floor, I figured I'd better find out why that might be. I had a look online at the ingredients, which all seemed to be far superior to Clean It Zero, so I purchased mine from a Korean seller on eBay, and was really excited to give it a try!
What is it?
Just like Clean It Zero, Heimish's All Clean Balm is a solid cleansing balm, although this feels just a little firmer, and just like Clean It Zero, it quickly melts on the palm of your hand in to a silky, almost buttery oil. The end results are similar, in that they both take off pretty much everything, but that's really where the similarities end. The experience of using the All Clean Balm is far superior - it feels much more luxurious and expensive, much more gentle on the skin, and the scent is really quite dreamy. And that kind of describes it well - using this product is an experience that leaves your skin feeling great, whereas Clean It Zero is just a product that does a job.
Packaging

The packaging of this product is quite ingenious. To start with, it's just a standard round tub, containing 120ml of product, which incidentally, is more than the regular sized Clean It Zero. Why is it ingenious though? Well this is going to sound a little strange, but I absolutely love the lid design. Yep, the lid. If I were to ask you out of all the times you've had a product that comes with a spatula, how many of those times have you lost it almost immediately? The answer will more than likely be always.
Well Heimish have a solution for that - their magic lid! It's kind of split into two sections, you can twist it to open, revealing a plastic layer protecting the product, and containing the spatula. You just lift that up and there's your product. BUT, there's also another section, where you can flip the top half of the lid, revealing the same plastic player and spatula. The genius is, once you've cleansed your face, flipping the lid just makes it that little bit easier to put the spatula back. There are literally no excuses for losing this one, lads.
Application, texture and performance

I'd say that the texture is slightly thicker than Clean It Zero, but it certainly doesn't feel heavy. I apply this direct to a dry face, using it as my first cleanse, to dissolve any makeup and sunscreen that I might be wearing. I'll spread it all over my face, start to massage it in, and within seconds I'll notice that my makeup is already starting to melt and dissolve. No matter how stubborn you think your makeup might be, the All Clean Cleansing balm laughs in the face of it - waterproof mascara, cosmetic emulsions, layer upon layer of sunscreen, this will make light work of it without stripping the skin of it's natural oils. It's also free of parabens, sulphate, alcohol, silicone and mineral oil.
And back to those essential oils, I was a little worried that this would prove problematic to my sensitive eyes, particularly in the summer period, but as with Clean It Zero, this didn't even so much as give me a light tingling around the eyes. And because the product is a bit thicker, I tend to find that when rinsing off it doesn't get into my eyes quite so easily, and therefore I don't get that momentary cloudy vision these products can often give you.
When it comes to removing it, it's really easy, you just wet your hands with a couple of drops of water and apply to your face, where the product will then emulsify and turn milky. At this point you can rinse it off, but just bear in mind that this product may need a bit of extra water to emulsify - possibly because it's thicker and gives a more thorough cleanse.
When rinsed off, my skin feels soft, smooth and comfortable, as if the product hasn't touched or damaged my skin barrier, no tightness of the skin either, almost as if I haven't just washed my face, and it doesn't even leave any residue behind. But at the same time, there are times where I've not even needed to go in with a second cleanse, because it's just taken everything off.
Anything else?

Fragrance - as soon as you twist or flip open the magic lid, your nostrils are filled with the gentle aroma of essential oils, and they've got that just about spot on - it's not an assault on your senses at all, it's just pleasantly scented. It's quite a luxurious scent, lightly citrus, of the kind you may find at a spa. The Elemis Pro Collagen Cleansing balm is an example of something that really is an assault on your nostrils, whilst Heimish have decided that their product is best used when you're not in a complete daze.
Cruelty Free - good news here, unlike Clean It Zero, the All Clean Cleansing Balm is cruelty free! It isn't sold in China at present, and there are numerous reports online stating that they are cruelty free. You may also see some sites claiming that this is not vegan, but those are likely outdated claims from back when Heimish included donkey milk in the formula - this is no longer the case, and more up to date reports can verify it is now vegan.
Ingredients - this product actually used to contain donkey milk, but they've removed that from the formula now thankfully. It contains shea butter, which is an emollient that moisturises, soothes the skin and is rich in anti-oxidants. In addition it contains Vitamin E and a number of essential oils: lavender oil, orange peel oil, teatree leaf oil, eucalyptus leaf oil as well as several others. If you are sensitive to essential oils, this might not be the one for you, but I will say again, the scent is not overbearing to me.
Generally, when using this product, the texture, fragrance and performance of it always gives the impression that I'm using a luxurious, expensive product, when in actual fact, it isn't really all that expensive at all. It also feels very much like a winter product, just because the aroma is so uplifting, it really makes me feel like I'm taking care of my skin and treating myself.
It's very unlikely that you'll find this on the shelves of any stores in the UK, so you'll have to look on online. The links below with an asterisk are affiliate links, so if you purchase through them, I may earn a small commission. Of course, feel free to shop around and look elsewhere.
YesStyle* sell the 120ml tub for £14.24 (free shipping on UK orders over £40)
Stylevana* have the 120ml tub for £10.99 (free shipping on UK orders over £39)
PureSeoul also sell the 120ml for £13.80 (free shipping on UK orders over £30, and they are UK-based)
Beauty and Seoul have the 120ml for £15 (free shipping on UK overs over £25, also UK-based)
You can also get the 120ml tub for £12.04 on eBay* (free shipping, directly from Korea)
And finally, would I repurchase? Yes, absolutely! It's so luxurious, and in many places actually works out cheaper than Banila Co's Clean It Zero too, so for the time being, it's a no-brainer for me!
Fashionicide 2023